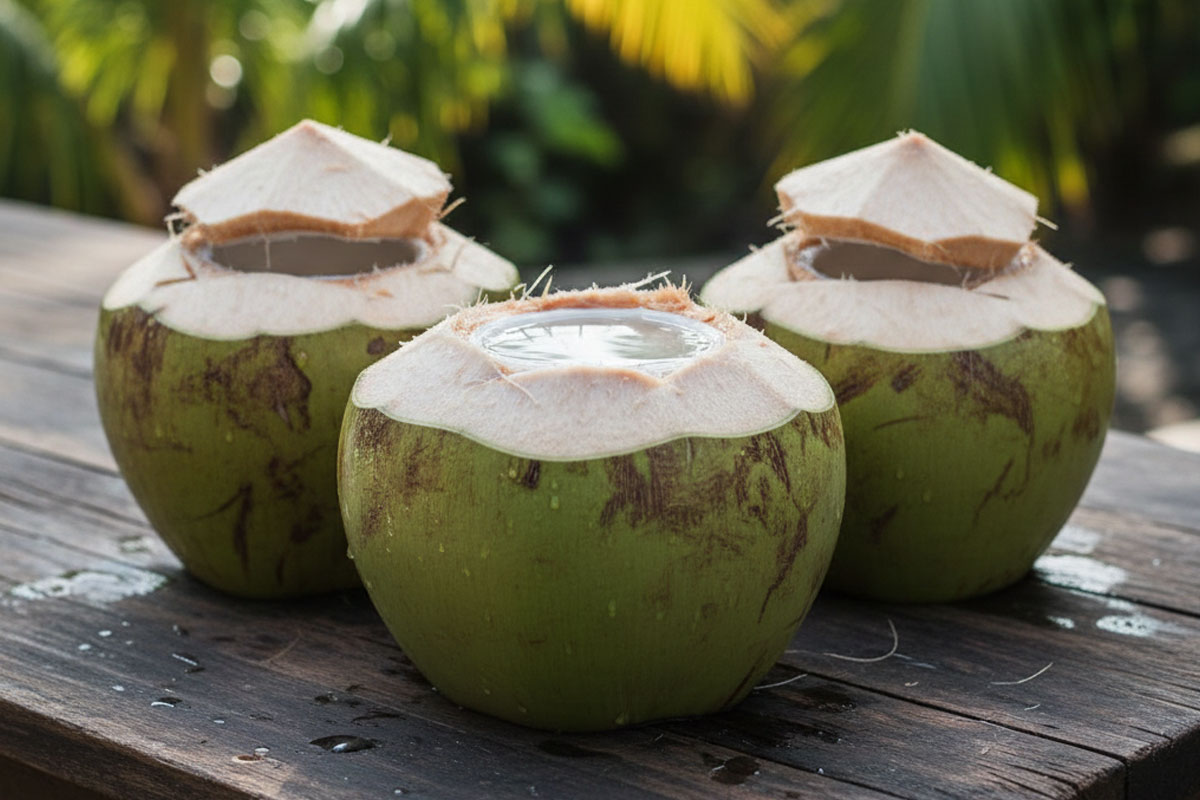
Whether you are working on your diet to lose weight, or looking for a natural way to boost your immunity to fight or prevent deadly viruses like coronavirus as today in 2020, you must add various microgreens in your platter. You may choose your microgreens variety according to your taste, the best part is you need not to visit your supermarket in search of them, you can grow your own 100% organic microgreens in your home with things available in your own kitchen. Moreover their aroma keeps the atmosphere calm and helps keep harmful bacteria and insects away.
In India, our ancestors specially used to keep black chickpeas (soaked overnight, and carried in a piece of wet cloth to keep them hydrated) with them while going for farming or work or travelling, and consume them raw as snacks or as a meal whenever they feel hungry. Black chickpeas are a great source of energy and nutrients, they are soaked to turn them into sprouts which digest easily. They understood the power of this tiny seedling and its magical properties which can cure and prevent us from hundred-thousand diseases by enriching the human body’s immune system, and today many studies and research proves their theory. You may notice that almost every dietitian on the earth adds sprouts to their diet plan to fill your stomach with a nutrient rich diet instead of junk.
The sprouts kept in moist condition for a few days turned them into microgreens. A seed contains mega doses of nutrients to feed the bud, but these nutrients in a dry seed are not available to the human body as the nutrients in a sprouted seed. These nutrients include folate, iron, vitamin C, zinc, magnesium, protein and many more. Microgreens may have less starch and are easier to digest, also we cannot ignore the curative properties of microgreens in itself.

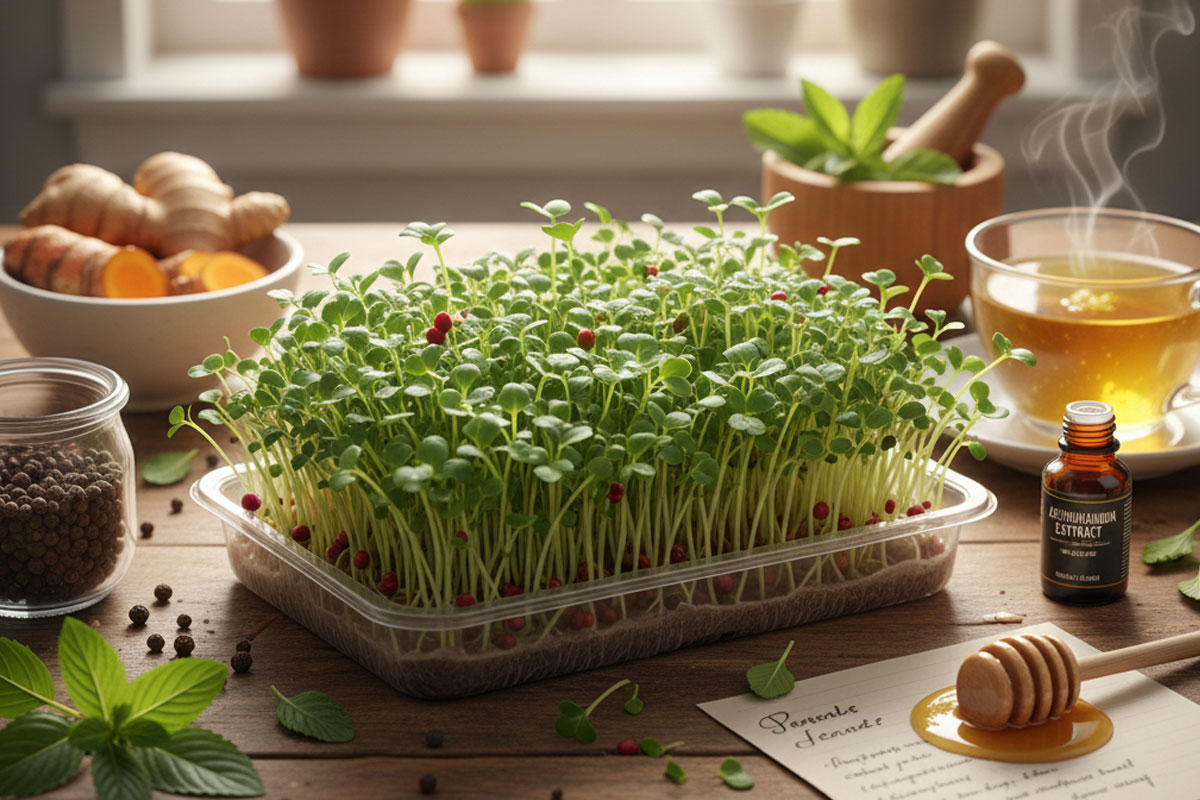
This mighty food is extremely talented as microgreens can be added to just about anything – salads, soups, cereals, smoothies, meals-in-a-bowl, and you may choose them to add different flavour in any dish. The microgreens can be cooked in a dish, boiled in a soup, lightly toasted or use them as topping over your dish.
Wondering what you can grow as
microgreens and how?
The easy to grow seeds are available in your own kitchen and they are: Fenugreek (Methi Seeds), Coriander (Dhaniya Seeds), Green Gram (Sabut Moong), Chickpeas (Safed Chana), Black Chickpeas (Kala Chana), Kidney Beans (Rajma), Black Eyed Peas (Raungi / Lobia), Wheat Grain (Gehun), Oat Grain (Jaun) and last but not the least Mustard (Rai). Mustard is my favourite microgreens, b’cos it adds a mild flavour to the dish which is really hard to be identified.
Growing microgreens at home is super easy, just take a bowl or tray or container lying somewhere in your house, fill that half with a mix of garden soil and cocopeat. No compost is required as we are growing them as microgreens, not as a crop, and the use of cocopeat here is just to make soil fluffy and light for better aeration in the container, if you don’t have cocopeat you may skip that too, instead you can use crushed dried leaves from your garden. Take a handful of dried leaves, crush them with your hands, as-fine-as possible, and wash/rinse them in a bucket of water before using them.
Now sprinkle some water over the soil, just enough to keep it moist not drenched, and sprinkle your seeds all over it avoiding overlapping. Then cover the seeds with a layer of the soil mix of a few centimeters and sprinkle some water again, this time lesser than the previous time.
Final step, cover the container with a piece of cloth or tissue paper or even news-paper and keep it anywhere, in your drawing room on the center table, or on the dining table, or on the window side. Important points are:
- Container should be kept in a well-light area, avoiding direct sunlight.
- Keep the soil moist to help seed germination and growth.
- Watch regularly (twice daily) and sprinkle water when required (check if soil is drying).
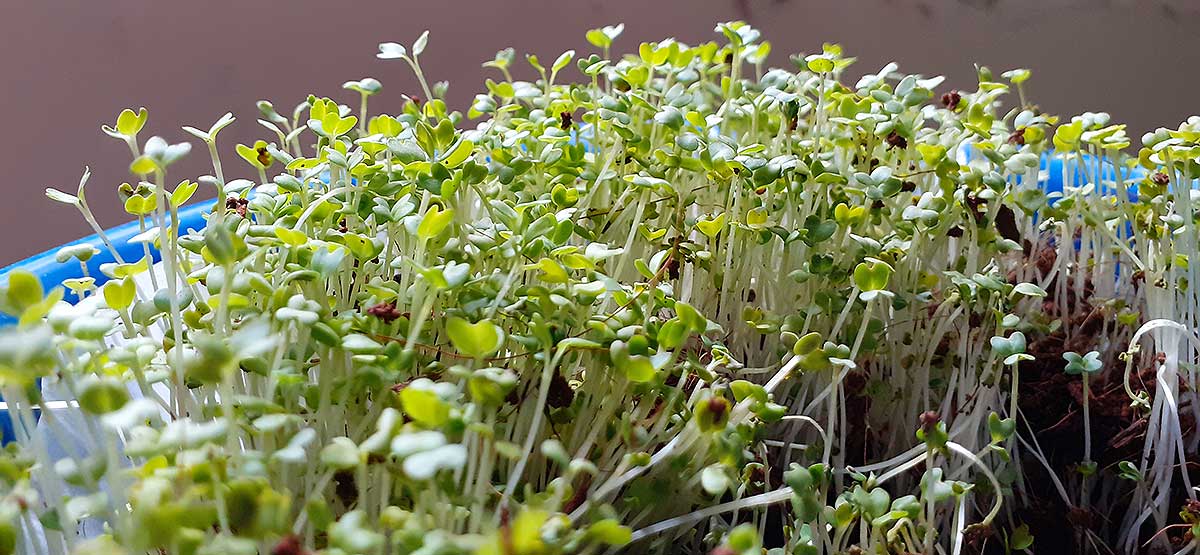
After 2-4 days, you will witness the sprouts of seeds (Fenugreek may take longer than expected), when the sprouts are half inch tall you may remove the cover. Within a week’s time the sprouts will become microgreens of 2-3 inch or more height and are ready to harvest. Cut your microgreens just a few centimeters above the surface and use fresh as you like.
Suggestion: Start a new microgreens container every 2nd or 3rd day with a new type, to learn from your own experience for better results and of course an endless supply of Microgreens.
So, let us get down to the “Health Benefits of Microgreens”.